Unit W – The IDI Workbook

This unit includes worksheets which, when completed, should provide all the information you need to create a course which meets all the goals – yours and the department’s, institution’s, and accrediting agencies’.
Unit W Structure
Each of the 5 steps in the IDI process is detailed in a chapter which has 2 sub-chapters/steps. These sub-steps are labelled W1.1, W1.2, W2.1, W2.2, etc.
Each of these sub-chapters/steps is divided into the following topics:
- Results (What)
- Overview (Why)
- Suggestions/Instructions (How & What If)
If interested in my rationale for this, please see the good practices chapter (B5).
Unit W Chapters
| Chapter Title and Overview | |
|---|---|
| W1 | Step 1: Where Are You Starting? This step helps you identify course requirements and also get to know your learners and their readiness for your course. Sections: W1.1 – Review Course Requirements W1.2 – Identify Student Learning Characteristics |
| W2 | Step 2: Where Are You Going? This includes identifying goals for the course then identifying the learning outcomes – the overarching goals – for what students will accomplish in the course. These outcomes are then broken down into learning objectives and are sequenced. Based on this, you can select a learning model (type of course – such as problem-based, online, classroom experiential, blended, flipped, etc.) You can also start building your syllabus at this step. Sections: W2.1 – Write Learning Outcomes & Objectives W2.2 – Finalize Learning Model |
| W3 | Step 3: How Will You Know If You Get There? Now that you have clear outcomes and objectives, you can work on creating your instruments to measure student learning (exams, assignments, activities, etc.). By creating these instruments, you tie the focus of the assessments to the key topics for the course using formats fitting the type of course. Sections: W3.1 – Develop Assessments & Rubrics W3.2 – Develop Instruments to Evaluate the Course |
| W4 | Step 4: How Will You Get There? This involves developing the detailed instruction. When developing instruction, you create specific and detailed class outlines that support the broad learning outcomes. Here you will identify activities, develop case studies, create videos, etc. Sections: W4.1 – Develop Sessions & Teach Course W4.2 – Assess Students |
| W5 | Step 5. How Did It Go? The last step in the overall model is to evaluate your instruction, which includes reviewing student feedback, your self-reflection, and student success in achieving learning outcomes. This evaluation contributes to revised learning outcomes and approaches to not just this course, but potentially to others you teach. Sections: W5.1 – Evaluate Course W5.2 – Identify Changes |
Description of Codes
Most chapters in units A, B, and C include a section which lists steps in the IDI process influenced by that chapter’s topic. These have been consolidated into suggestions and worksheets for each step and sub-step in the IDI model. (List of all worksheets)
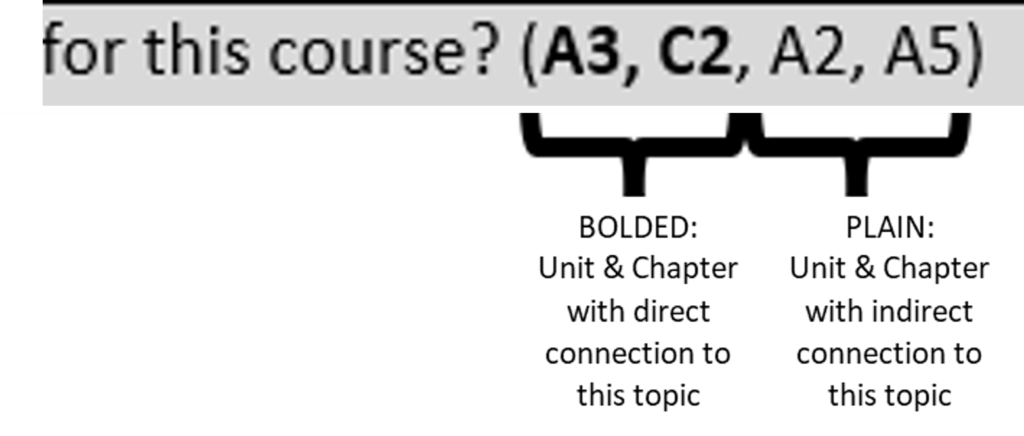
To help you cross-reference these, chapter numbers in parentheses indicate which chapter to refer to if you want background information. A bolded reference, such as (A3), indicates a direct connection to the topic. An un-bolded reference, such as (A3), indicates an indirect connection to the topic. Below is a visual example.
Navigation Tips
The workbook step pages include an overview of that step and links to:
1) a .pdf which, opening in a new tab, provides guidelines on completing the worksheets, and
2) a .doc (Word document) containing the worksheets.
The worksheets are password protected to help you move from field to field by using the Tab key.
All text fields allow for use of the carriage return/Enter key to expand the field as much as you need. However, Word would not allow us to provide rich-text editing, only plain text.
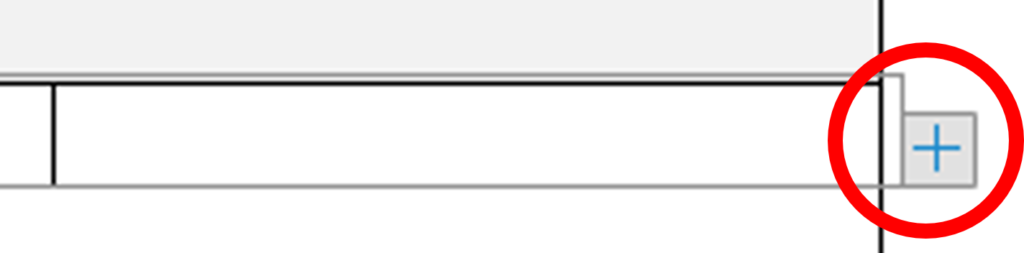
Some groups of fields can be duplicated. So, for example, you may have more outcomes than the worksheet provides for. In these cases, a note indicates that you can duplicate the blank fields by clicking on the ‘+’ sign at the end of the group. Below is a visual example.
Note that the ‘+’ does NOT show-up until your cursor is within the group.